

Ahh, Windows 10 updates. For some, a minor inconvenience, for others, the bane of their existence. The most annoying thing, though, is when Windows claims there are no updates available, even when you know there are some available (like if you’ve just bought a new computer, for example). This guide will teach you how to get Windows updated to the latest version.
First, Check Your Build Info
Before we start, let me show you how to check which build info of Windows 10 your computer is currently running so that you can make sure you’re on the newest version. Just go to Settings > Updates & Security and then find OS build info under Related links in the right sidebar. Then, you’ll find it a bit down on the page, under Windows specifications where it says OS build. Finally, you can compare the listed build to the most recent Windows 10 build released by Microsoft.
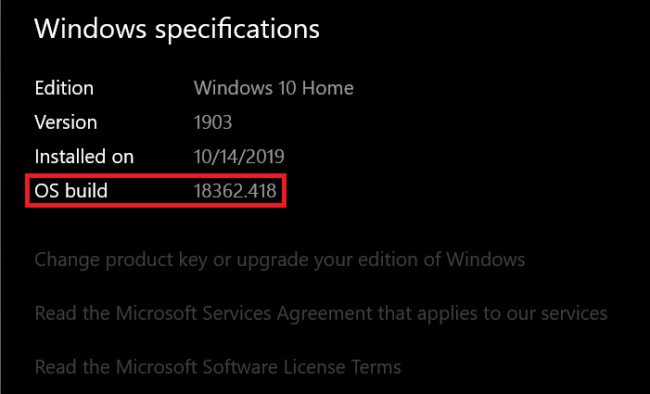
If your OS build is not the newest one but Windows Update won’t deliver any updates to you, then you need to force update your computer (don’t worry, it’s perfectly safe) as described in the next section.
How To Force The Newest Windows 10 Update
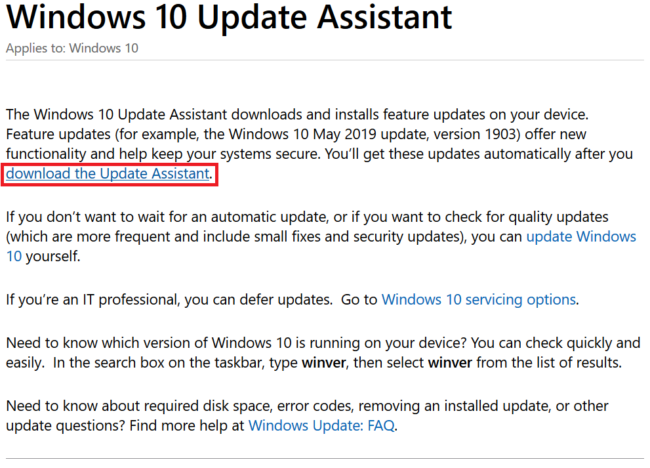
What you need is the Windows 10 Update Assistant from Microsoft. This tool is specifically built to get your computer fully updated in situations like this. The specific file you should download is this one. If you’d rather find that link yourself, it’s on the Windows 10 Update Assistant page near the top.
Once you’ve downloaded the Windows 10 Update Assistant, it’s extremely straightforward to update your computer to the latest version. However, you should know that it can take substantially longer than Windows 10 updates usually take, especially if you need to update through a lot of builds. It’s worth it, though, because once your computer is fully updated you should be able to update straight from the Settings menu without having to resort to the assistant. In other words, you’re probably safe deleting the download file for the Update Assistant once you’re done.
Bonus: Change Your Active Hours!
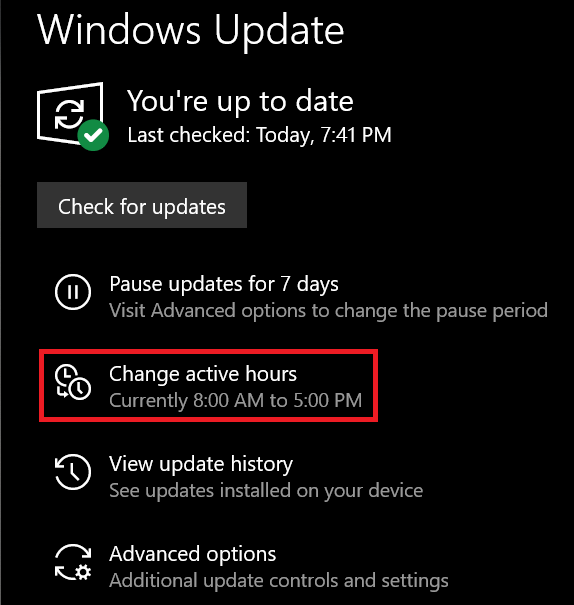
If you feel like Windows 10 is constantly updating your computer at inconvenient times, change your active hours! Microsoft has introduced this feature so that you can stop your computer from updating during hours in which you typically use it. It’s annoying, because you can only mark 18 hours of the day as active hours, but it’s better than nothing. You can easily change your active hours right in the Update menu.
Really, though, the best way to avoid unexpected updates is to manually update every few days. Anyways, I hope this guide helped you get your computer nice and updated, and I hope you feel a bit more in control of when your computer updates. If you have any questions, go ahead and drop them in the comments below. Thanks for reading!
![]()